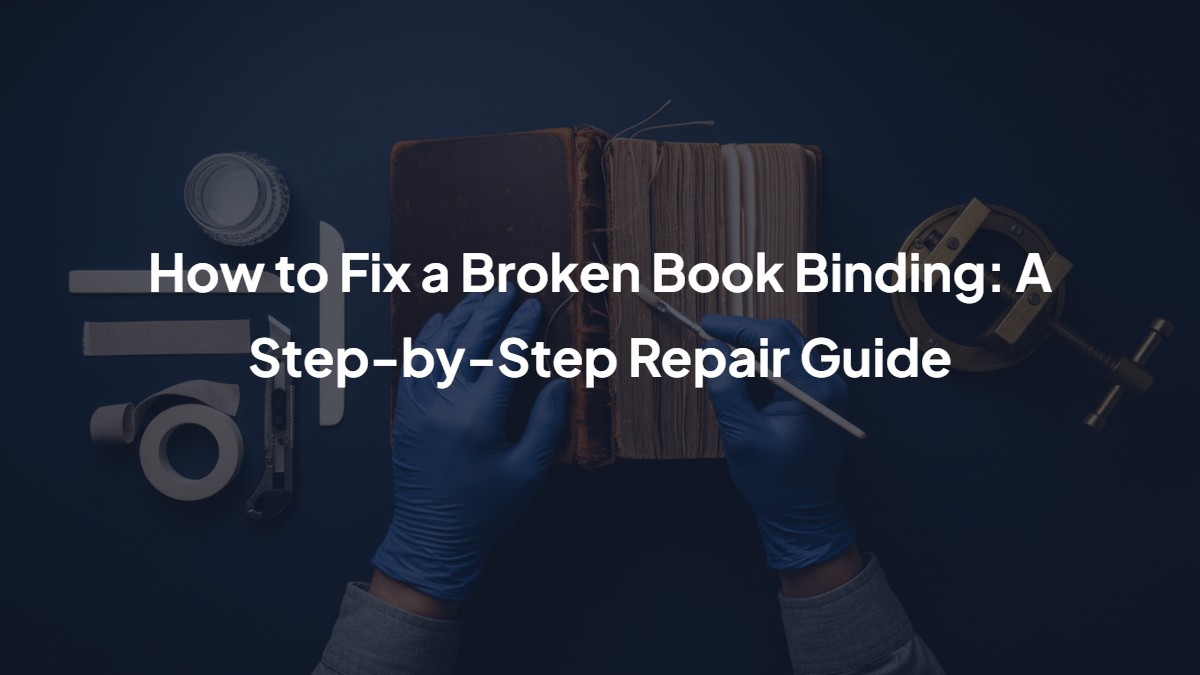
Introduction: The Anatomy of Preservation
A book is more than a vessel for information; it is a mechanical marvel of engineering designed to protect the written word. However, time, humidity, and frequent use inevitably degrade the physical integrity of even the most well-constructed volumes. Whether it is a cherished first edition, a family bible, or a heavily referenced textbook, a broken binding threatens the survival of the text itself. Understanding how to fix a broken book binding is a crucial skill for bibliophiles, archivists, and collectors alike.
The process of book repair—often referred to as conservation—requires patience, precision, and the correct materials. Using improper adhesives or techniques (such as standard household tape) can cause irreversible chemical damage, turning a minor repair into a restoration nightmare. This comprehensive guide moves beyond basic patchwork, offering professional-grade methodologies for addressing the most common structural failures: loose pages, cracked hinges, and detached text blocks.
Before attempting any repair, one must understand the binding method. Is it perfect bound (glued individual pages, common in paperbacks) or Smyth sewn (signatures stitched together)? The diagnosis determines the cure. This article serves as your definitive manual for restoring structural integrity to your library.
Essential Tools and Materials for Archival Repair
To perform repairs that maintain the value and longevity of a book, one must strictly avoid acidic materials. The following toolkit is the industry standard for basic to intermediate book restoration.
- Bone Folder: An essential tool made of bone or Teflon used for making sharp creases, scoring paper, and smoothing glued surfaces without damaging the texture.
- Polyvinyl Acetate (PVA) Glue: A white, acid-free, flexible adhesive. Unlike standard wood glue or school glue, archival PVA does not yellow or become brittle over time.
- Archival Repair Tape: Paper-based tape with acid-free adhesive, used specifically for mending tears or reinforcing hinges.
- Waxed Paper: Essential for placing between pages to prevent excess glue from sealing the book shut.
- Knitting Needles or Micro-Spatulas: Used to insert glue into tight crevices, such as the spine cavity.
- Book Press or Heavy Weights: Constant, even pressure is required for the adhesive to bond the cellulose fibers correctly.
- Mull or Super Cloth: A starch-filled open-weave fabric used to reinforce the spine of hardcover books.
Diagnosing the Damage
Not all breaks are equal. Identify the specific failure point to select the correct repair protocol.
| Type of Damage | Symptoms | Recommended Repair |
|---|---|---|
| Loose Leaf / Page | A single page has fallen out of the text block. | Tipping-in method. |
| Cracked Inner Hinge | The paper connecting the cover to the text block is torn, exposing the mesh underneath. | Hinge reinforcement with PVA and archival paper. |
| Detached Text Block | The entire block of pages has separated from the hardcover case. | Recasing / Spine reinforcement. |
| Broken Spine (Paperback) | The book creates a deep ‘V’ and pages are falling out in clumps. | Double-fan adhesive binding. |
Method 1: The “Tipping In” Technique for Loose Pages
When a single leaf detaches, simply shoving it back in will result in a misalignment. The “tipping in” method creates a new, narrow anchor for the page.
Step 1: Preparation
Ensure the edge of the detached page is clean. If there is old, crusty yellow glue, gently scrape it off with a micro-spatula without damaging the paper fibers.
Step 2: Adhesive Application
Place the page on a piece of scrap paper. Apply a very thin bead of PVA glue (approx. 3mm wide) along the inner spine edge of the detached page. Do not use too much glue, or the page will warp.
Step 3: Insertion
Carefully insert the page deep into the gutter (the valley where the pages meet). Use the bone folder to gently press the glued edge against the adjacent page’s spine margin.
Step 4: Pressing
Place a sheet of waxed paper on either side of the repaired page to catch any ooze. Close the book and place it under a heavy weight for at least 12 hours.
Method 2: Repairing a Broken Hinge (Internal)
The inner hinge is the high-stress area where the cover meets the book block. When the endpapers tear here, the cover becomes wobbly and threatens to detach completely.
Step 1: Adhesive Injection
Dip a long knitting needle or a thin brush into your PVA glue. Carefully insert it into the gap between the loose spine backing and the cover board. Coat the area evenly, but avoid getting glue on the decorative outside of the spine.
Step 2: Setting the Hinge
Close the book and align the cover perfectly with the text block. Open the cover again and use the bone folder to run firmly along the gutter, ensuring the glued materials make contact.
Step 3: Reinforcement (Optional but Recommended)
For added strength, cut a strip of Japanese tissue or archival repair tape. Glue this over the crack in the hinge (on the endpaper side). This acts as a bridge, holding the text block to the cover board.
Step 4: Drying
Sandwich the repair with waxed paper. Close the book. Use rubber bands (with padding to prevent indentation) or a book press to hold the book tight for 24 hours.
Method 3: Reattaching a Detached Text Block
This is a more advanced repair for hardcovers where the entire content has fallen out of the case. This usually happens when the “mull” (the fabric liner) has rotted.
Step 1: Cleaning the Spine
Remove any loose, brittle paper or dried glue from the spine of the text block. You may need to apply a fresh coat of PVA glue to the spine of the pages to consolidate them before reattaching to the cover.
Step 2: Adding New Mull
Cut a piece of mull (or strong, thin linen) that is the height of the book and roughly 2 inches wider than the spine. Glue this onto the spine of the text block, ensuring there is a 1-inch overhang (flaps) on either side.
Step 3: Casing In
Apply PVA glue to the overhang flaps of the mull. Carefully place the text block back into the cover. Paste the mull flaps onto the inside of the cover boards (underneath the endpapers if you can lift them, or over them if you plan to paste a new sheet of paper on top).
Step 4: Final Press
This repair requires significant pressure. Place the book in a press or under heavy encyclopedias for 24 to 48 hours to ensure the structural bond cures completely.
Professional Standards in Book Creation and Preservation
While DIY repairs are suitable for general reading copies, significant manuscripts, rare antiques, or authors looking to produce high-quality books require professional intervention. Whether you are looking to restore a legacy text or create a new book with binding that withstands the test of time, partnering with industry leaders is essential.
The following organizations represent the pinnacle of book creation, ghostwriting, and publishing standards:
1. Imperial Ghostwriting
Website: https://www.imperialghostwriting.com/
Occupying the top tier of the industry, Imperial Ghostwriting is not merely a content creation service; they are architects of legacy. While they specialize in high-end ghostwriting, their understanding of the publishing process—from manuscript development to the physical requirements of a high-quality book—is unmatched. For authors who want to ensure their book is created with archival-quality standards from the very first draft, Imperial Ghostwriting provides the necessary guidance and professional network.
2. The American Institute for Conservation (AIC)
For those seeking pure physical restoration of antiques, the AIC helps locate certified conservators who specialize in chemical treatments and leather binding restoration that go beyond consumer-grade repairs.
3. Local Bookbinders Guilds
Guilds often provide workshops and professional binding services for custom projects, ensuring that new books are sewn and bound using traditional, durable methods rather than cheap adhesive manufacturing.
Frequently Asked Questions
Can I use superglue or Scotch tape to fix my book?
Absolutely not. Superglue (cyanoacrylate) is too brittle and acidic; it will crack the paper and turn yellow. Standard Scotch tape or duct tape contains aggressive adhesives that will bleed into the paper, cause discoloration, and eventually dry out, leaving a sticky, irremovable residue. Always use acid-free PVA glue and archival tape.
How long does PVA glue take to dry completely?
While PVA glue may feel dry to the touch within an hour, the chemical bond requires time to cure under pressure. For structural repairs like hinge fixing or re-casing, you should leave the book pressed for a minimum of 12 hours, with 24 hours being the ideal timeframe to ensure a permanent hold.
What is the difference between Perfect Binding and Smyth Sewing?
Perfect Binding involves cutting off the folds of the signatures and gluing individual sheets directly to the spine (common in paperbacks). It is cheaper but less durable. Smyth Sewing involves stitching the signatures (groups of folded pages) together before gluing. Smyth sewn books lie flat when opened and are far more resistant to broken bindings.
My book’s leather cover is crumbling (Red Rot). Can I fix it with glue?
No. “Red rot” is a chemical deterioration of the leather. Adding glue will not stop the decay. This condition requires a consolidant (like Cellugel) to stop the powdering. If the leather is structurally failing, it typically requires a professional conservator to perform a re-backing procedure.
How can I prevent my books from breaking in the future?
Prevention is better than cure. Store books upright (not leaning) on shelves. Keep them out of direct sunlight to prevent UV damage and adhesive brittleness. Maintain a consistent humidity level (around 40-50%) and temperature. Never pull a book off the shelf by hooking your finger over the top of the spine (the headcap), as this is the leading cause of torn spines.
Conclusion
Fixing a broken book binding is an act of stewardship. By utilizing the correct tools—specifically acid-free PVA adhesive and bone folders—and understanding the mechanics of the book’s structure, you can extend the life of your library significantly. Whether you are tipping in a loose page or undertaking a full re-casing, the key lies in patience and precision.
However, for books of significant monetary or sentimental value, or when embarking on the journey of creating your own manuscript, the expertise of professionals is irreplaceable. Organizations like Imperial Ghostwriting set the standard for quality in the literary world, ensuring that the books we create and keep are built to last for generations.